Temporal repository implementation using MongoDB and ASP.NET Core
· 2 min read
In my last post we covered why CRUD patterns can be inherently difficult to scale. If you’ve reached that point, congratulations, it’s time to upgrade your design. In this post we’ll cover a different kind of data access pattern that’s a little more complicated than CRUD, but offers some benefits that just might make it worthwhile.
The key to scalable systems is asyncronous processing. And the key to asyncronous processing is adopting data structures that facilitate asyncronous processing. One such data structure is the ‘temporal’ repository.
temporal (ˈtemp(ə)rəl)
adjective
- relating to time.
The temporal repository is capable of knowing not just the current state of the entities within it but also their prior states. This repo has the memory of an elephant and knows not just facts about the world, but also when it came to know about them. Here’s what such an interface looks like:
public interface ITemporalRepository<T>
{
    /// <summary>
    /// Saves the entity to the database.
    /// </summary>
    Task SaveAsync(T entity);
    /// <summary>
    /// Gets the latest version of the entity from the database.
    /// </summary>
    Task<T> GetAsync(string identifier);
    /// <summary>
    /// Gets a version of the entity as of a given point in time.
    /// </summary>
    Task<T> GetAsync(string identifier, DateTime asOf);
    /// <summary>
    /// Gets the complete history of an entity.
    /// </summary>
    IAsyncEnumerable<T> GetHistoryAsync(string identifier);
    /// <summary>
    /// Gets the latest versions of all the entities in the
    /// database.
    /// </summary>
    IAsyncEnumerable<T> GetAllAsync();
    /// <summary>
    /// Gets all the entities from the database as of a given
    /// point in time.
    /// </summary>
    IAsyncEnumerable<T> GetAllAsync(DateTime asOf);
    /// <summary>
    /// Purges historical versions of an entity beyond a given
    /// point in time. Keeps however many versions specified.
    /// </summary>
    Task PurgeHistoricalVersionsAsync(DateTime howFarBackToPurge, int minVersionsToKeep);
}
As you can see, by enabling our data model to travel backwards in time, we end up with more than just the standard four CRUD routines. This interface enables us to do some pretty cool stuff, namely:
- Coordinate multiple batch processes to asynchronously process the system as of an exact point in time. In other words, we have an immutable data set. We don’t have to worry about anyone pulling the rug out from under us and retries can be idempotent.
- Perform diffs on the data, for example to understand what has changed since the last time a batch process was ran.
- Provide an audit log, which is immensely useful for debugging and is oftentimes required to meet regulatory requirements.
- Retroactively process data as of a specific point in time in the past (i.e. quarterly reporting).
You get all of this and more without ever needing to create a transaction.
See it in action
I’ve created a demo of this pattern using ASP.NET Core 3.0, MongoDB and Docker. One thing I love about Docker is that you don’t need to install MongoDB just to see this demo work. Simply run the Docker Compose file and you’re off to the races. I should also mention this can run on both macOS and Windows. I know because I developed this demo on both a MacBook and a Windows PC. 🤠
To run the demo I’d recommend installing the following software:
- Visual Studio 2019
- Docker (along with Kitematic for managing containers)
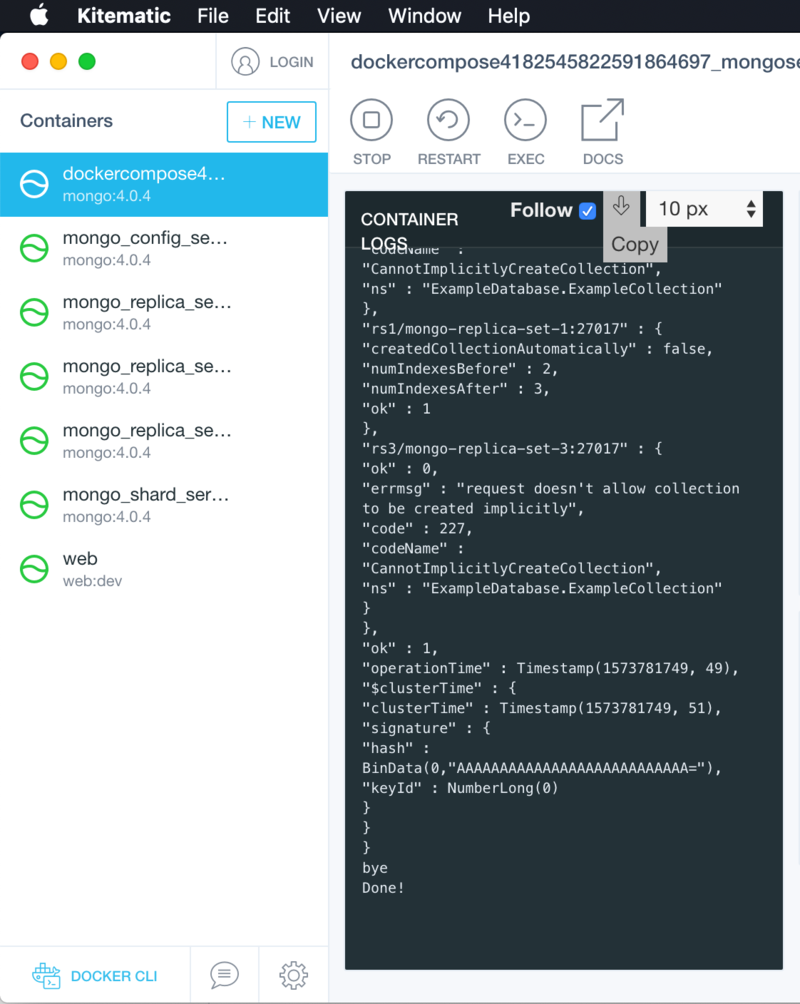
Next, clone or download the source from my GitHub. You should be able to simply open the solution in Visual Studio and run the docker-compose project. In Kitematic, use Ctrl + R (or ⌘ + R) to refresh the container list. You should see the list of Docker containers that were created and you should observe that the MongoDB cluster has formed:

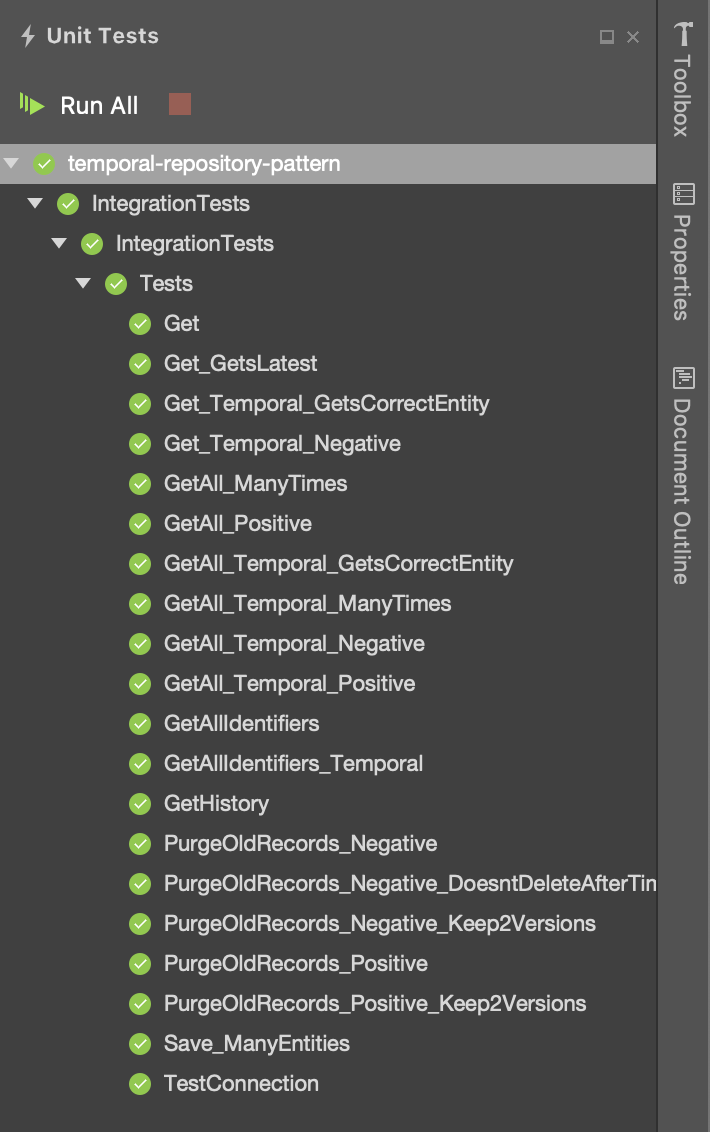
Next, use the Test Explorer in Visual Studio to run the integration tests and observe that they all pass:

I think I’ve said enough for one blog post. Go ahead, set some breakpoints and tinker around. If you’d like to connect to the local MongoDB cluster you can connect to it on the default port 27017. If you have MongoDB Compass you should be able to simply open it up and hit ‘Connect’.
